This post is about Dominance and Submission. But wait, before you dash off to your adult toy closet for instruments of pain, let me clarify that I am in the role of the Dom and my Sub is a length of green silk crepe de chine. No whips and chains needed, my washing machine and steam iron were the flogging tools.
Some years ago a friend gave me about 3 yards of patterned silk crepe de chine in an emerald color. Not being a huge fan of jewel tones it sat on the shelf.
Earlier this week I heard whispers of "Archer" coming from my stash closet. It was that green silk saying "I have potential...get creative." Well, don't dare this girl to get creative and not expect action. Game on! (wink@Julie) I'd been wanting to make View B of the Archer and thought stonewashed silk would be the perfect fabric for this view with the little flounce in the back:

Not having any stones, I threw that silk into the washer set on hot along with a couple pair of bluejeans for some agitation. Then into a hot dryer. I then repeated the hot water wash process but with a cold water rinse and adding about a teaspoon of hair conditioner to the final rinse. Then I dried on a medium setting. Voila! It was faded to a lovely sprucey-teal green and the fibers had compressed to a heavier weight with great drape. It is soft and without that shiny crepe de chine finish, which I'm not crazy about, and it smells great! Although it is no longer emerald, in this pic it does show the pretty pattern:
Now, back to Archer View B. There has been much discussion among some of us participating in the
12 Months of Grainline Studios Archer Shirt Sew-along , as to how View B is going to translate on our backsides. So, I volunteered to pioneer the road here, knowing that there was a definite potential of becoming known as Ol' Ruffle Butt.
However, I had a sneaking suspicion that I was going to love this style shirt and I do! Having said that, I think the success of View B is completely dependent on your fabric. Absolutely use a fabric that is drapey and presses well like a silk or rayon woven. I think with the crispness and body of a cotton you would indeed have a ruffle butt.
The pattern suggests gathering the back flounce but I decided to use my ruffler attachment to make pleats. The first thing I did was to cut a muslin of the flounce piece so I could test out which setting I needed on my attachment:
The perfect setting ended up being my ruffler set at every 6th stitch and then decreasing the length of the ruffle marked area on the pattern by approximately 1" at each end. Perfect fit:
Once the flounce is attached I pressed the heck out of it to really flatten it out. I pressed the seam upwards and then trimmed a little off before topstitching it:
I used the cap sleeve idea from V8886 that I recently made and previously posted
here. Basically, all you do is copy the sleeve cap and make a straight line the length of your armscye seam, which on this shirt is 1/2" Here is a picture of the pattern piece I made over the back side of the Archer sleeve:
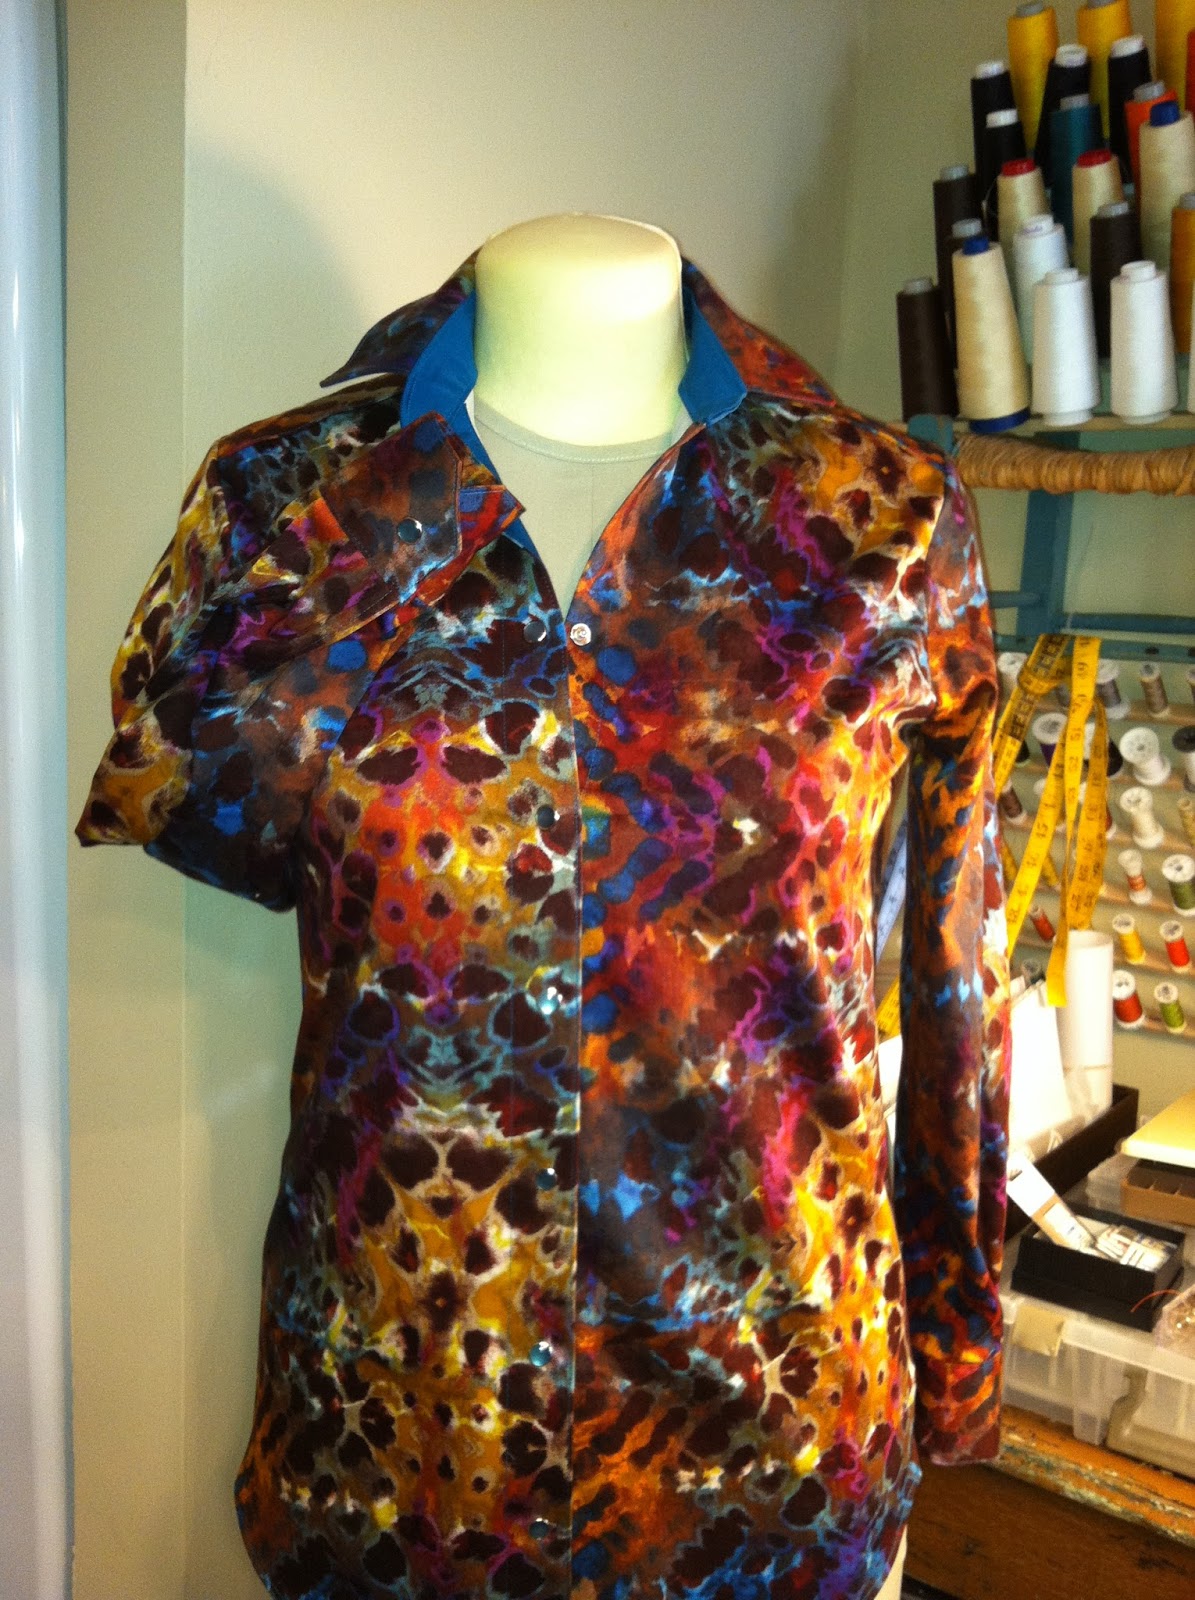
I cut 4 sleeves from my silk and used 2 of them for the lining. Stitch wrong sides together at the hem, press and turn and then treat as one sleeve. For the remaining 4-5 inches at the underarm I used bias cut fabric strips to bind. Here is a little closer up on the finished sleeves. I think it's a cute look for summer:
And now for the buttonholes! My thinking on this shirt was that since it is so GREEN, and I didn't use contrast fabric anywhere, I felt like the color needed to be broken up. I found some adorable mother-of-pearl buttons in my button jar and thought they would be perfect since the iridescence picks up the green. Then I sort of went crazy with them and came up with this:

Cute, right? That was 11:00 last night. This morning all I could think about was spacing and marking 11 buttonholes! Oh, that my Bernina had the ninja buttonhole feature that the newer models have...but sadly, I have to mark, measure and stitch the old fashioned way. Googling around I found a brilliant tip on
Sew Chic's blog. She made her buttonhole markings on 1/4" quilters tape and taped it down the bottonhole placket as a guide. Not having any quilters tape I thought my trusty blue painters tape would work just as well. So...I made some practice buttonholes to get the proper size and then decided where I wanted my beginning and ending buttons to be and started the spacing process on tape affixed to my cutting ruler like so: (Warning! This is very scientific...you have to be able to count to 10)
And then with the tape transfered directly to the button band:
By the way, my perfect collar points and rounded pocket corners were made using Claire's fabulous EZ Pocketmaker found on her
ETSY Shop.
Bottom line...I love View B of the Archer. I have another gorgeous piece of silk in my stash that I've been saving for just the right project. I see August's Archer in my future!


