
In my continuing 2013 quest to add new techniques to my sewing repertoire, I happened upon a really cool raw edged neckline finish while making Vogue 1315. Since this dress might not be the right cup of tea for everyone, I thought I would pass on the neckband technique which can be used on any knit garment. I just finished using it on View D of New Look 6150 resulting in the cute tee above. And yes, it's Rodeo season in Houston hence the belt and boots. (and pearls...only in Texas!)
This technique is easy and fun. Start out by cutting two strips of fabric the length of the neckband that comes with your pattern. Cut the strips on the straight grain if your fabric has a crosswise stretch. You want the stretch. If there is no neckband piece with your pattern you can cut the strips approximately 4" shorter than the circumference of the neckline, measured after the shoulders are sewn. One strip should be 1-3/8" wide and the other 1-5/8" as shown below:

Next, sew the ends of the narrow strip, right sides together. Then sew the ends of the wider strip together wrong sides together. You will end up with:

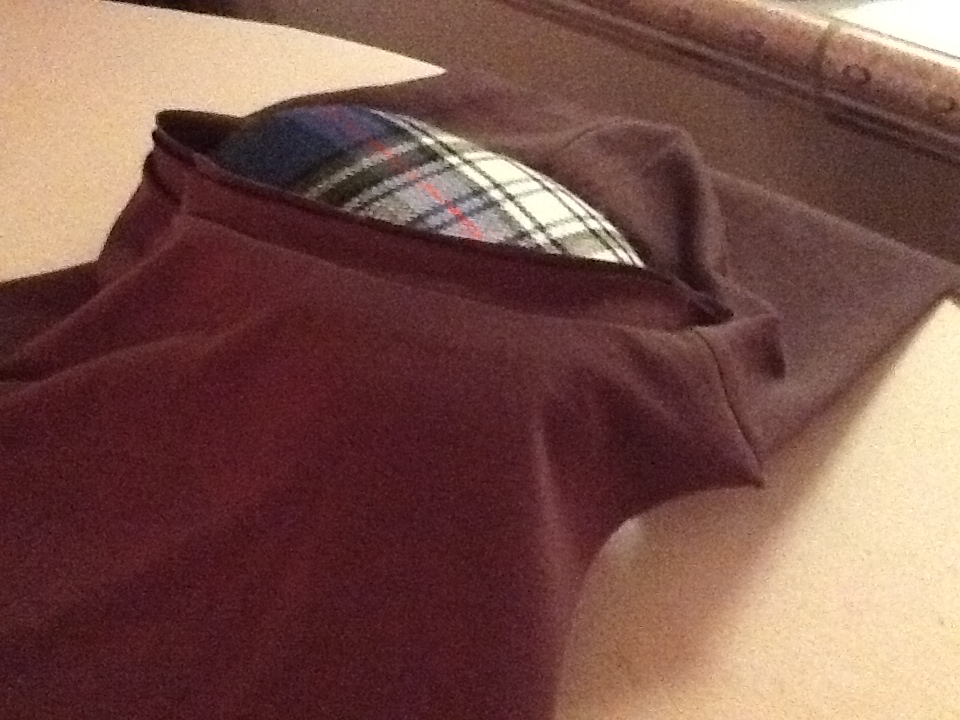
Next, with right sides up, pin the narrower band over the wider band, matching seams and having raw edges even on one side. Baste near the even edge. Here is a pic of that (lifted and pinned section) on Maggie:

Now, with right sides together, pin the band to the neck edge, stretching slightly as you go, then stitch:

Trim this seam allowance to about 3/8":

Turn seam allowances toward garment and give it a good press from the outside:
Edgestitch and topstitch, or use a double stretch needle, which I think is easier and gives a better result.

To curl the raw edge of each band pull edges slightly and....Voila! The double-layer, raw edged neckband:

I will use this technique once in a while for a different neckline finish on casual tees and dresses. It's easy...try it!
If you've not tried NL 6150 and would like to read about it, here is my complete Pattern Review.
Thanks for stopping by!
I love those edges-they look very cool.Thanks for the tutorial
ReplyDeleteLike it - thanks!
ReplyDeleteThat give a different look to the neck - thanks for the tutorial lovely top.
ReplyDeleteThank you for the tutorial! This is a very pretty top! Have fun at the rodeo!
ReplyDeleteHow pretty! Thanks!
ReplyDeleteVery cool! Thanks for the tutorial.
ReplyDeleteThanks for sharing this! I can't wait to try this.
ReplyDeleteI love this look! Definitely going to give it a try. Thanks!
ReplyDeleteAahh. That's how you do it. Thanks for the tutorial. This is a super technique.
ReplyDeleteGreat tutorial for this super cute neckline. Thanks!
ReplyDeleteFun to experiment with little tricks!
ReplyDeleteI have a RTW top that looks like they just slit the top of the fold on a regular binding, after completing it, which made both edges roll over to the outside.
Have also see a regular binding, fold up, sewn inside of the raw neck edge, leaving about 1/4" of the raw edge above the topstitching, so it gives a feathery look.
Thanks for sharing; I'll give it a try.
ReplyDeleteThanks so much. Perfect timing. I'm almost done with a knit dress, and this may be just what I need to finish the neckline. Your top is super cute.
ReplyDelete